
Last updated October 31, 2026
 Sweep & inspection
 Caps & crowns
 Flue relining
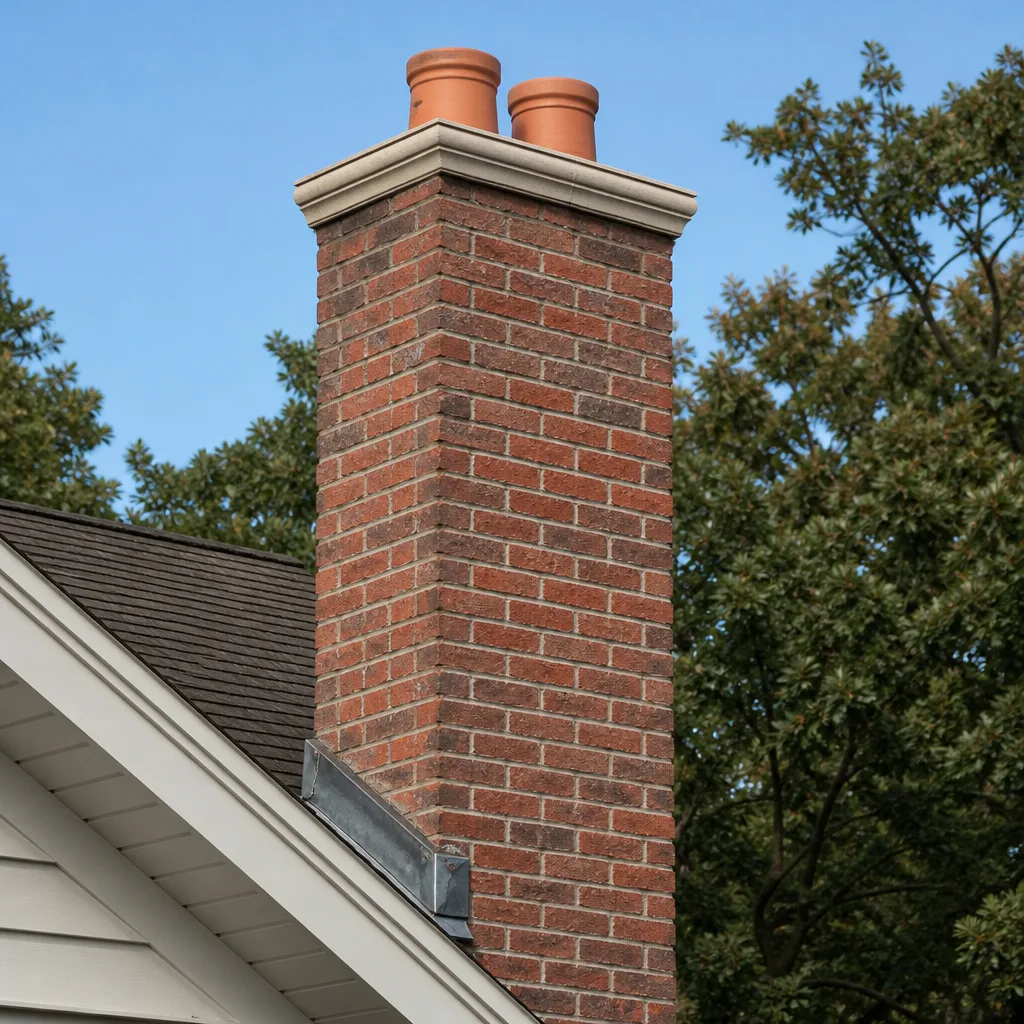 Masonry repair
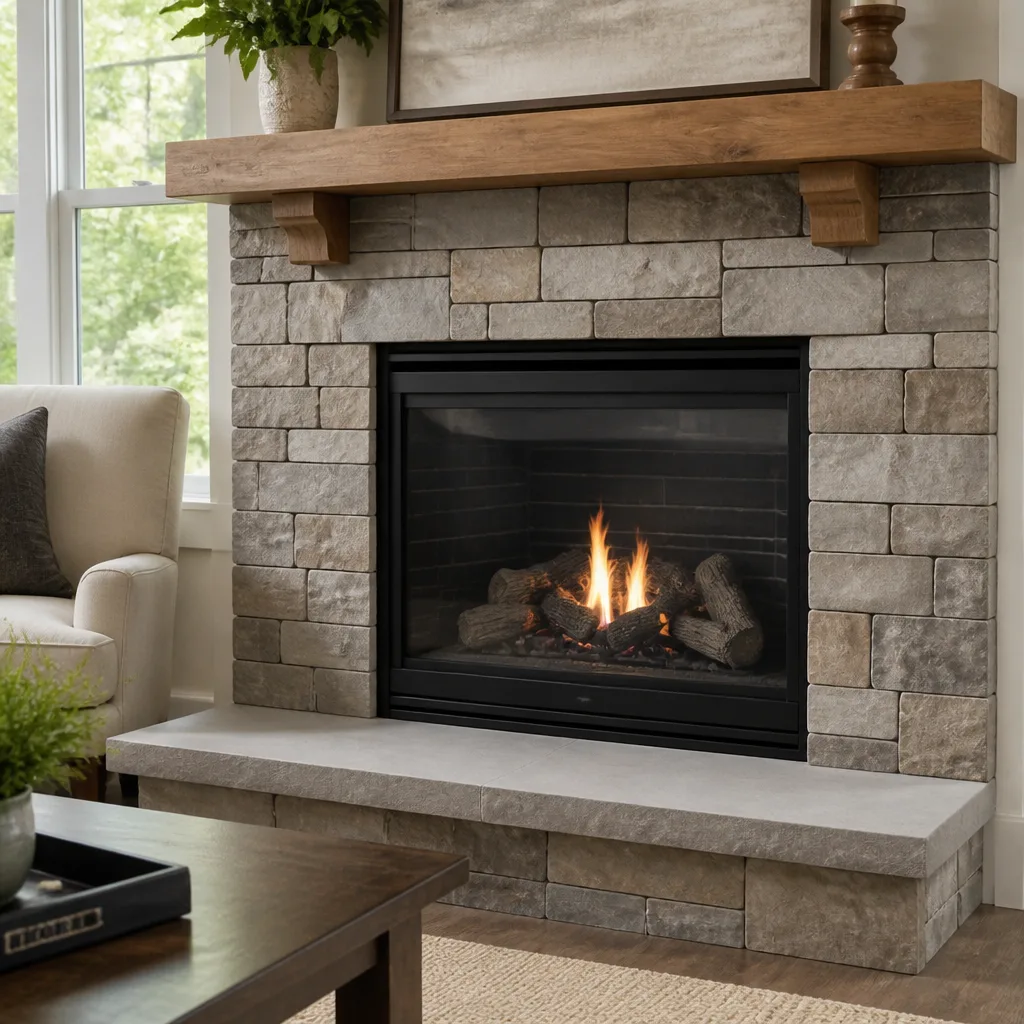 Gas fireplace service
Level 1 sweep and inspection to the NFPA 211 annual standard - flue, crown, cap, and flashing checked and photographed
Chimney sweep logs do not sweep chimneys. They loosen some creosote - which then falls where a brush and vacuum still have to collect it.
Chimney Sweep Maintenance Checklist for El Monte Homeowners
Chimney crowns crack silently for years before water ever reaches the firebox. By the time you notice staining on the ceiling or a musty smell near the hearth in your El Monte home, the repair bill has typically multiplied to three times what crown maintenance would have cost. This guide walks you through a maintenance checklist sequenced the way chimneys actually fail: from the top down, not by what’s easiest to reach. You’ll learn what to inspect yourself, what to leave to a professional, and how to log your maintenance history so it protects you when you sell or file a claim.
Quick Answer
A proper chimney maintenance checklist for El Monte homeowners covers five zones in failure-priority order: the crown and cap, the flue liner, the smoke chamber and damper, the firebox, and the exterior masonry. Visually inspect the crown and cap every season, schedule Chimney Sweep services every 25 to 50 fires or at least every other year, and call a chimney specialist immediately if you see spalling brick, crumbling mortar, or water staining inside the firebox after El Monte’s heavy rain events.
Styles & brands we work with
Table of Contents
- Why Failure Priority Matters More Than Convenience
- Zone 1: Crown and Cap – The First Line of Defense
- Zone 2: Flue Liner – What You Can’t See Can Hurt You
- Zone 3: Smoke Chamber and Damper – The Middle Passage
- Zone 4: Firebox and Hearth – Where Problems Become Visible
- Zone 5: Exterior Masonry – The El Monte Weather Factor
- How to Log Maintenance History the Right Way
- The Annual vs. Every-Other-Year Decision Tree
Why Failure Priority Matters More Than Convenience
Most maintenance checklists start with whatever’s easiest to reach: the damper, the firebox, maybe the hearth. That’s a mistake. Chimneys don’t fail from the bottom up. They fail from the top down, and the most expensive failures are the ones you can’t see until they’ve already done structural damage. In our experience working on El Monte chimneys, we regularly see fireboxes that look fine while the crown above has been quietly spalling for three winters, letting water into the flue and the chase cavity. The firebox only shows damage after the problem has been progressing for years.
Think of it like a roof. You don’t wait for water stains on the ceiling to check your shingles. You check the shingles because that’s where water enters. The chimney crown is your shingle. The firebox is your ceiling. If you’re only checking the firebox, you’re diagnosing the problem after it’s already inside the house.
This guide sequences inspections by failure likelihood, not accessibility. It starts at the top and works down, because that’s the order in which deterioration actually happens. For El Monte homeowners, this isn’t academic. The San Gabriel Valley gets most of its rain in concentrated winter storms after long dry stretches. That pattern, dry spells interrupted by sudden heavy rain, is exactly what accelerates crown and mortar damage. Hairline cracks open during the dry season, then water forces its way in during the first big storm, and the freeze-thaw cycle does the rest. Even though El Monte doesn’t get hard freezes often, the few cold snaps we do get are enough to exploit any existing crack.
Homeowners who follow a conventional top-to-bottom checklist catch problems earlier. Homeowners who follow a convenience-based checklist catch problems later. The difference in repair cost is usually a factor of three or more. Crown repair might run a few hundred dollars. A rebuilt smoke chamber and new damper assembly can run into the thousands. A damaged flue liner that requires relining is in the same range. Water damage that reaches the framing around the chimney chase adds structural repair to the bill.
This guide is broken into five zones. Each zone gets its own inspection criteria, its own signs of trouble, and its own action threshold. If you only remember one thing, remember this: check the top first, and check it every season.
For background on how professional cleaning fits into this sequence, start with the Sherwood Chimney Sweep home service overview.
Zone 1: Crown and Cap – The First Line of Defense
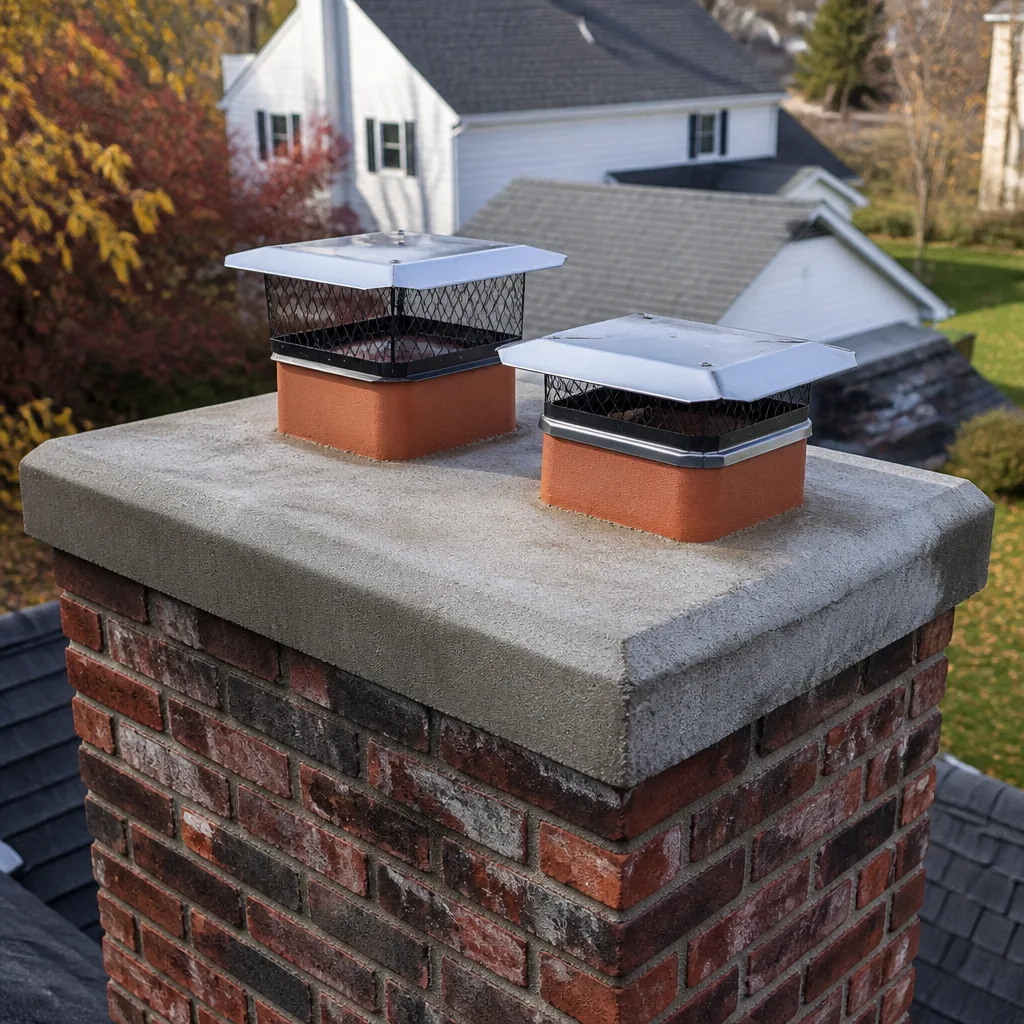
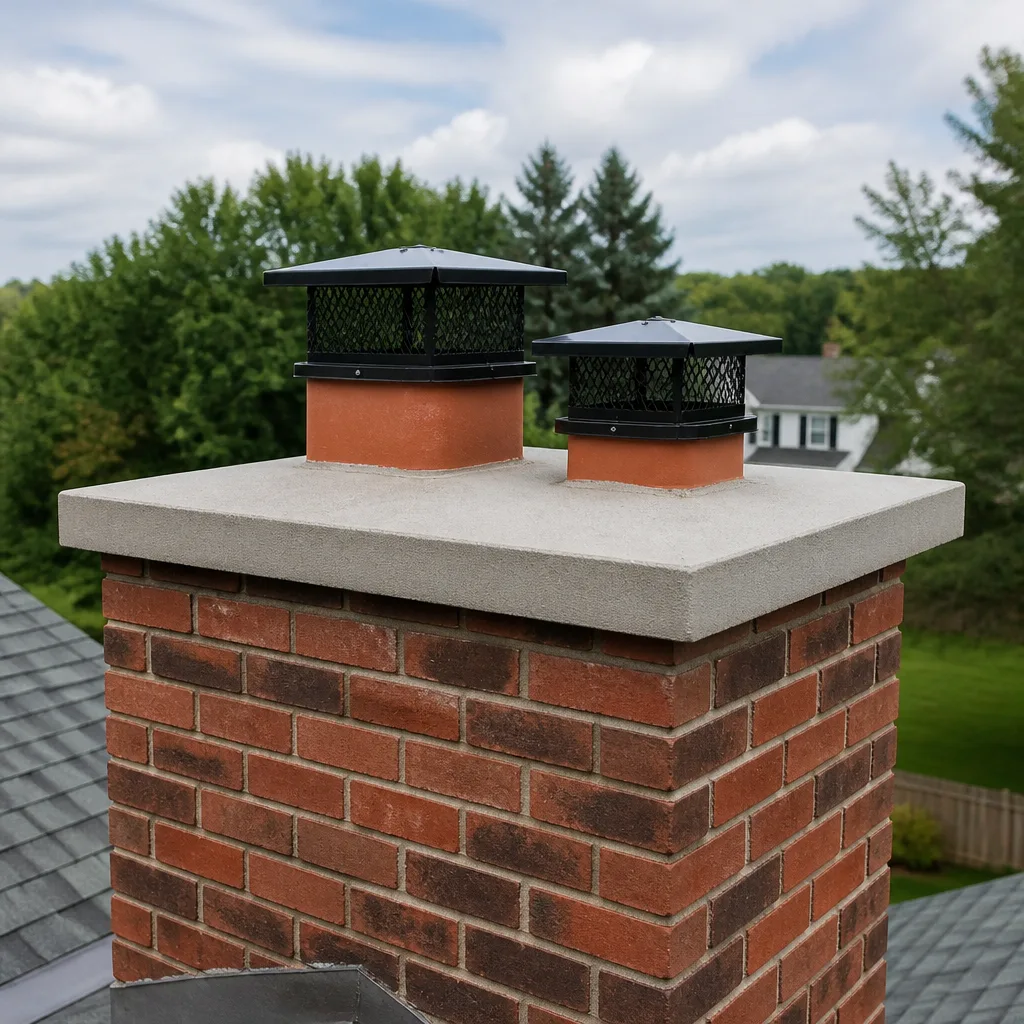
The crown is the concrete or mortar slab that seals the top of the chimney around the flue opening. The cap is the metal cover, usually stainless steel or copper, that sits above the flue opening to keep rain, birds, and debris out. Together, they’re the single most important water barrier on the entire chimney system. When they fail, everything below them is exposed.
What You Can Visually Check From the Ground
You don’t need to climb onto the roof to do a meaningful crown and cap inspection. A pair of binoculars and a clear afternoon will tell you a lot. From the ground or from an upper window, look for these signs:
- Cracks in the crown surface: Hairline cracks are the first warning sign. They widen over time. If you can see them from the ground with binoculars, they’re already wide enough to let water in.
- Spalling or scaling: If the crown surface looks pitted, flaked, or like small pieces have broken away, water has already begun to deteriorate the concrete matrix.
- A missing or damaged cap: If the cap is gone, bent, or rusted through, rain goes directly into the flue. This is a problem you can often see from the ground on a clear day.
- Efflorescence below the crown: White, chalky staining on the brick below the crown line means water is passing through the crown and leaching minerals out of the masonry. This is a definitive sign of water intrusion.
- Shifting or separation: If the crown looks like it’s pulling away from the flue tile, or if there’s a visible gap between the crown and the brick, the seal has failed.
Professional-Only Checks
Some crown and cap issues can’t be assessed from the ground. During a professional chimney service visit, the technician should check the crown’s slope and thickness. A proper crown overhangs the brick by at least two inches and slopes away from the flue so water sheds off. Many older El Monte homes have crowns that were never built to that specification. The technician should also check the cap’s mesh screen. If the mesh is loose or missing, birds and rodents will find their way in, and in El Monte, that’s a common problem with older chimneys near the Rio Hondo wash area.
When we find crown cracks during a sweep, the fix is often straightforward: a crown sealant or a full crown rebuild depending on severity. The point is to catch it before water does more work. A crown crack caught in year one is a maintenance item. The same crack left alone for five years is a structural repair. The same crack left for ten is a chimney rebuild.
Zone 2: Flue Liner – What You Can’t See Can Hurt You
The flue liner is the vertical passage that carries smoke and combustion gases from the firebox to the outside. In older El Monte homes, the liner is often made of terra cotta clay tiles stacked one on top of another and sealed with mortar. In newer installations, it may be a stainless steel liner, often a DuraFlex system, or a cast-in-place material. The liner does two jobs: it protects the surrounding masonry from heat and corrosive gases, and it provides a smooth, correctly sized passage so the chimney draws properly.
Here’s the problem: you can’t inspect a flue liner from the ground. You can’t inspect it from the roof without specialized equipment. You typically can’t even see the full liner during a routine sweep unless the technician uses a camera. This is the zone where professional inspection matters most, because liner failure is invisible until it becomes dangerous.
What a Professional Liner Inspection Covers
- Visual surface inspection: The technician looks for cracks, gaps, spalled clay tile surfaces, and missing mortar joints. In clay tile liners, these defects are common in older El Monte chimneys, especially those that have seen heavy use or chimney fires.
- Camera inspection: A flexible camera is run up the flue to document the liner condition throughout the entire length, not just what’s visible from the top or bottom. This is the gold standard for liner assessment. If a company recommends a liner repair or replacement without camera evidence, get a second opinion.
- Sizing check: The liner diameter must match the appliance. A fireplace that was originally paired with a wood-burning insert, then converted to a different type of appliance, may have a liner size mismatch that hurts draft and increases creosote buildup.
- Clearance verification: The liner needs proper clearance from surrounding combustibles. In older El Monte homes with original brick chimneys, this is not always the case, especially where the chimney passes through enclosed chase spaces.
- Creosote classification: Creosote buildup is classified in three stages: Stage 1 is a sooty film, Stage 2 is a flaky, textured buildup, Stage 3 is a hard, glazed, tar-like coating. Stage 3 creosote is both a fire risk and a sign that the chimney operates at the wrong temperature or that the liner surface is rough enough to trap deposits.
If a professional sweep technician finds hairline cracks in a clay tile liner, the options depend on severity. Minor surface deterioration can sometimes be addressed with a resurfacing system like HeatShield, a ceramic material applied over the existing liner to restore a smooth, sealed surface. This is a restoration approach: restore before you replace. More advanced deterioration, where tiles are shifted or the mortar joints have largely failed, may require a full relining. In our experience, El Monte homeowners are often surprised to learn that a liner can be restored without tearing out the entire chimney. For Chimney Sweep Troubleshooting: Common Problems and How to Fix Them, start with camera evidence. That option exists for the right failure profile, and it’s why camera evidence matters: you need to see the actual condition of the liner before deciding between restoration and replacement.
For homeowners in neighboring communities, the Chimney Sweep in South Pasadena page covers the same inspection process for that area.
Zone 3: Smoke Chamber and Damper – The Middle Passage
Between the firebox and the flue liner sits the smoke chamber, the funnel-shaped section that directs smoke upward. Above that is the damper, the metal plate that opens to let smoke out when the fireplace is in use and closes to stop conditioned air from escaping when it’s not. Both are overlooked on most homeowner checklists because they’re hard to inspect and easy to ignore.
That’s unfortunate, because the smoke chamber is one of the most common places for heat to escape sideways instead of upward. In older El Monte homes built before modern code requirements, smoke chambers were often constructed with corbeled brick, meaning each row of brick steps inward slightly. The gaps between those steps were rarely parged smooth, so the surface is rough and the mortar joints are exposed. Combustion gases can penetrate those gaps, especially if the mortar has deteriorated, and reach the surrounding framing.
Smoke Chamber Inspection Checklist
- Parging condition: A properly maintained smoke chamber is parged smooth with a refractory mortar. If the parging is cracked, flaking, or missing in places, the chamber needs attention. This is a standard item in a chimney repair scope.
- Gap check: Feel for visible gaps or holes where the smoke chamber meets the flue liner or the firebox. These gaps can leak smoke into the wall cavity, which is both a fire hazard and a carbon monoxide concern.
- Damper operation: The damper should open and close fully with smooth movement. If it sticks, squeals, or doesn’t seat fully when closed, it’s a heat-loss problem in winter and a draft problem in summer. A damper that doesn’t seal means El Monte air conditioning is escaping up the chimney all summer.
- Rust and corrosion: Damper plates are exposed to moisture that enters from the top, especially if the crown or cap has been failing. Rust on the damper is often the first interior sign of a water intrusion problem that started at the top.
The damper is also the component homeowners interact with most, which means you’ll notice problems earlier here than in the liner. A damper that’s harder to open than it was last season is telling you something. A damper that doesn’t close all the way is telling you something else. Neither is a problem to put off.
Zone 4: Firebox and Hearth – Where Problems Become Visible
The firebox is where the fire actually burns, and the hearth is the floor in front of it. If the zones above are failing, the firebox is where the evidence eventually appears. By the time you see damage here, the problem has usually been developing for years in the upper zones. That’s not a reason to skip firebox inspection. It’s a reason to inspect the firebox carefully and then follow the trail upward.
Firebox Inspection Checklist
- Check the firebrick: Look for cracked, spalled, or missing firebrick. Firebrick is designed to handle high heat, but it doesn’t last forever. Cracks wider than a credit card edge need professional evaluation.
- Inspect the mortar joints: Run your eye along the mortar lines between firebricks. If the mortar is recessed, crumbly, or missing in places, heat is reaching the surrounding masonry and potentially the structure behind it. Repointing the firebox mortar is a routine repair, but only if it’s caught before the damage spreads.
- Look for water staining: Dark staining or efflorescence inside the firebox, especially after El Monte rain events, means water is entering from above. The firebox is the last place water shows up and the first place it gets noticed. Don’t stop at drying out the firebox and moving on. Find the source.
- Check the hearth clearance: The hearth should extend far enough in front of the firebox opening to catch any embers that pop out. In older El Monte homes, hearth dimensions sometimes don’t meet current code. That’s an insurance concern as much as a safety one.
- Inspect the lintel: The steel angle iron above the firebox opening is the lintel. It supports the brick above the opening. If it’s sagging, rusted, or cracked, that’s a structural issue requiring professional repair.
Firebox and hearth issues are also the ones homeowners most often try to patch themselves with big-box refractory caulk or mortar. That’s a temporary fix at best and a dangerous one at worst if the underlying issue is heat transfer to combustible framing. Firebox repair is one area where professional-grade materials matter. The mortar used in fireboxes is a specific high-temperature formulation, not the same stuff used between bricks on a patio. Hardware-store substitutes fail quickly, and when firebox mortar fails, it fails in the hottest, most dangerous part of the chimney.
Zone 5: Exterior Masonry – The El Monte Weather Factor
El Monte’s climate is dry most of the year, with concentrated winter rain. That weather pattern shapes how exterior chimney masonry ages. Long dry spells cause the brick and mortar to contract slightly. Then a heavy rain storm arrives, sometimes delivering an inch or more in a few hours, and the masonry absorbs water through every hairline crack and porous surface. After the storm passes, the dry season returns and the absorbed water evaporates, but the damage it did on the way in remains.
This cycle means El Monte homeowners should inspect exterior masonry at least twice a year: once at the end of summer, before the rainy season starts, and once in early spring, after the last heavy rain. The goal is to catch moisture-related damage before it compounds.
Exterior Masonry Inspection Checklist
- Mortar joint condition: Look for recessed, cracked, or crumbling mortar joints. Run your eye along the horizontal and vertical joints. If you can slide a key into a joint that used to be flush, the mortar is failing.
- Spalling brick: Spalling is when the face of the brick flakes off, revealing the softer interior. It’s caused by water penetrating the brick and then expanding, either through freezing or through the pressure of re-crystallizing salts. Spalled brick is a moisture problem, not just a cosmetic one.
- Efflorescence: White powdery deposits on the brick surface mean water is moving through the masonry and carrying dissolved salts with it. Efflorescence in one spot is informative; efflorescence across a wide area means systemic water intrusion.
- Vertical cracks: Vertical cracks that run through bricks, not just along mortar joints, suggest structural movement. These need professional evaluation sooner rather than later. Hairline vertical cracks along a single mortar joint are usually less urgent but should be monitored.
- Chimney lean or separation: If the chimney is pulling away from the house, even slightly, that’s a structural issue. Look for a gap between the chimney and the exterior wall of the house. A visible gap at the roofline is a red flag.
El Monte sits in the flat San Gabriel Valley, so we don’t have the seismic concerns of hillside communities, but we also don’t have the drainage advantages. Homes on flat lots with mature trees nearby see more organic debris on the roof and chimney, which holds moisture against masonry longer. If you have a eucalyptus or other large tree near the chimney, plan on more frequent exterior masonry checks.
Exterior masonry repair is not a sweeping service. It’s a masonry repair service, and it requires a company that does chimney repair, not just cleaning. For readers in adjacent markets, the Chimney Repair in South Pasadena page covers what full-system structural repair entails.
How to Log Maintenance History the Right Way
Most homeowners don’t keep chimney maintenance records at all. The ones who do usually keep them in a way that doesn’t help them later. A folder full of invoices with no context doesn’t protect you when you sell the home or file an insurance claim. A maintenance log should tell a story: what was inspected, what was found, what was done, and when the next check is due.
Here’s a format that works for insurance claims and home sales:
- Date of service: The date the professional service was performed. Include the invoice number.
- Service type: Was this a standard sweep, a camera inspection, a repair, or a liner resurfacing? Be specific.
- Findings: What did the technician find? Note the zones inspected and any issues identified, even if they were deferred. A note that says “minor crown cracking noted, monitor next season” is valuable. A note that says “swept, no issues” tells you almost nothing.
- Work performed: What was actually done? This matters for insurance claims, which sometimes hinge on whether the homeowner performed reasonable maintenance.
- Materials used: If a repair was done, note the materials. Homeowners who keep records showing professional-grade materials, like HeatShield resurfacing or a DuraFlex liner system, have stronger documentation than homeowners who keep receipts for patching compounds.
- Next recommended service: When should the next inspection happen? This creates a paper trail of proactive maintenance.
- Fuel type and usage: Note whether you burned wood, gas logs, or pellets, and roughly how often. Usage patterns change, and the log should reflect them.
This log doesn’t need to be formal. A simple spreadsheet or a notes app entry works. The value comes from the consistency and the specificity. If you sell your El Monte home, a buyer who sees a complete maintenance log from a professional chimney company is more confident than a buyer who sees nothing. If you file an insurance claim for chimney-related water damage, a log showing regular inspections and timely repairs is the difference between a claim that gets processed and one that gets denied for lack of maintenance.
The Annual vs. Every-Other-Year Decision Tree
The standard advice is to have your chimney swept every year. That’s good advice for some El Monte homeowners and overkill for others. The correct interval depends on three factors: fuel type, usage frequency, and the age of the chimney system.
Here’s a simple decision tree to figure out where you fall:
Burn wood frequently (more than 30 fires per year)
Annual sweeping. No exceptions. You’re generating creosote faster than any other use case, and El Monte’s dry air accelerates the drying of creosote into its more combustible forms. If you burn wood weekly during the winter months, schedule a sweep every fall before the season starts.
Burn wood occasionally (10 to 30 fires per year)
Annual or every-other-year, depending on the wood you burn. If you burn seasoned hardwood, every other year may be adequate. If you burn softwood, unseasoned wood, or manufactured logs that produce heavy creosote, go annual. The quality of the wood matters more than the quantity of fires.
Burn wood rarely (fewer than 10 fires per year)
Every-other-year inspection, with an annual visual check of the crown and cap from the ground. You’re not generating much creosote, but you may be generating other problems: birds nesting in the flue, water intrusion that goes unnoticed for months at a time, or rust on the damper from disuse.
Gas fireplace or gas logs
Every-other-year inspection is usually sufficient, with an annual visual check. Gas fireplaces don’t generate creosote, but they do generate water vapor that can condense in the flue and accelerate liner deterioration. Gas logs also tend to encourage wildlife nesting because the flue doesn’t get hot enough to discourage birds.
Wood stove or insert (any fuel)
Annual. Wood stoves and inserts run hotter and push the flue liner harder than open fireplaces. They also tend to get used more consistently through the cold season. If you heat with wood as a primary or supplemental heat source, the chimney is working harder and needs more attention.
Rental property or vacation home in El Monte
Annual inspection, regardless of usage. Rental properties come with liability exposure. A documented annual inspection is the cheapest insurance you’ll buy. Vacation homes that sit empty for months need the same treatment because disuse creates its own problems.
Here’s the thing about the every-other-year option: it only works if you’re also doing the visual inspections in between. If you choose every-other-year professional service, you’re committing to checking the crown, cap, and exterior masonry yourself in the off year. The decision tree only branches to every-other-year for homeowners who actually do the ground-level checks. If you’re not going to put eyes on the chimney between professional visits, stick with annual service and let the technician do the checking.
Common Mistakes to Avoid
- Skipping the crown inspection because it requires looking up. The crown is the most important component you can partially inspect from the ground. Binoculars cost less than a crown repair.
- Accepting a liner recommendation without camera evidence. No reputable chimney professional recommends liner repair or replacement without showing you the camera footage. If the recommendation comes with no visual proof, get a second opinion. This is the single most common area where El Monte homeowners get told they need work they can’t verify.
- Patching firebox mortar with big-box refractory caulk. It fails quickly because it’s not the right material for sustained high-temperature exposure. The right fix uses professional-grade refractory mortar matched to the existing firebrick.
- Cleaning the chimney from the top without checking the cap. The cap is part of the system. A sweep that doesn’t include a cap inspection is incomplete. A missing cap means the chimney is filling with water and wildlife between visits.
- Ignoring the dryer vent because “it’s not a chimney.” Dryer vents are the leading cause of household dryer fires, and the failure mode is identical to chimney creosote: lint builds up, restricts airflow, and ignites. If you’re already having a chimney inspected, have the Dryer Vent Cleaning in South Pasadena done at the same visit. Same fire-prevention logic, different appliance.
- Assuming a gas fireplace needs no maintenance. Gas fireplaces don’t create creosote, but they do create condensation, and condensation accelerates liner damage over time. A gas fireplace with a deteriorating flue liner is a carbon monoxide risk.
- Waiting for visible damage inside the firebox before doing anything. By the time water or heat damage shows up in the firebox, the problem has been progressing in the upper zones for years. This is the whole thesis of the failure-priority approach.
See the difference
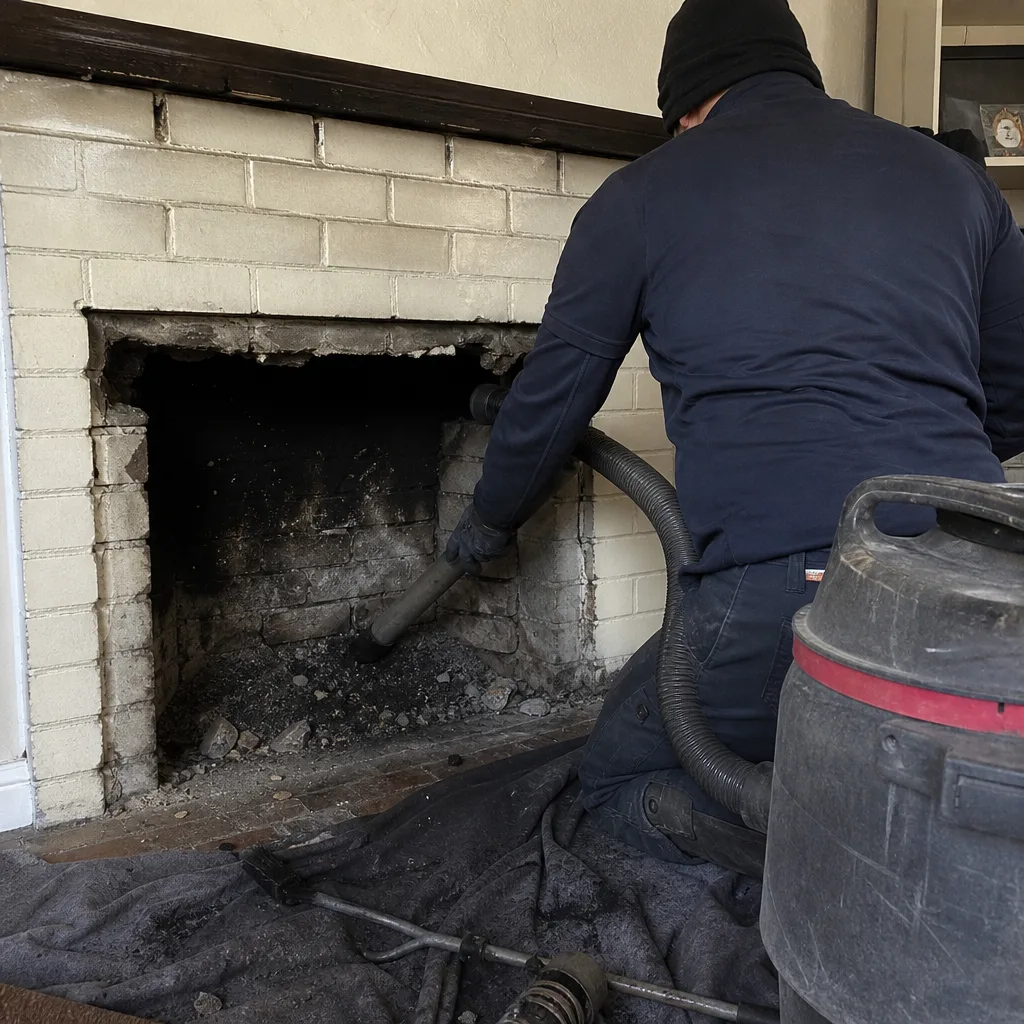 Before
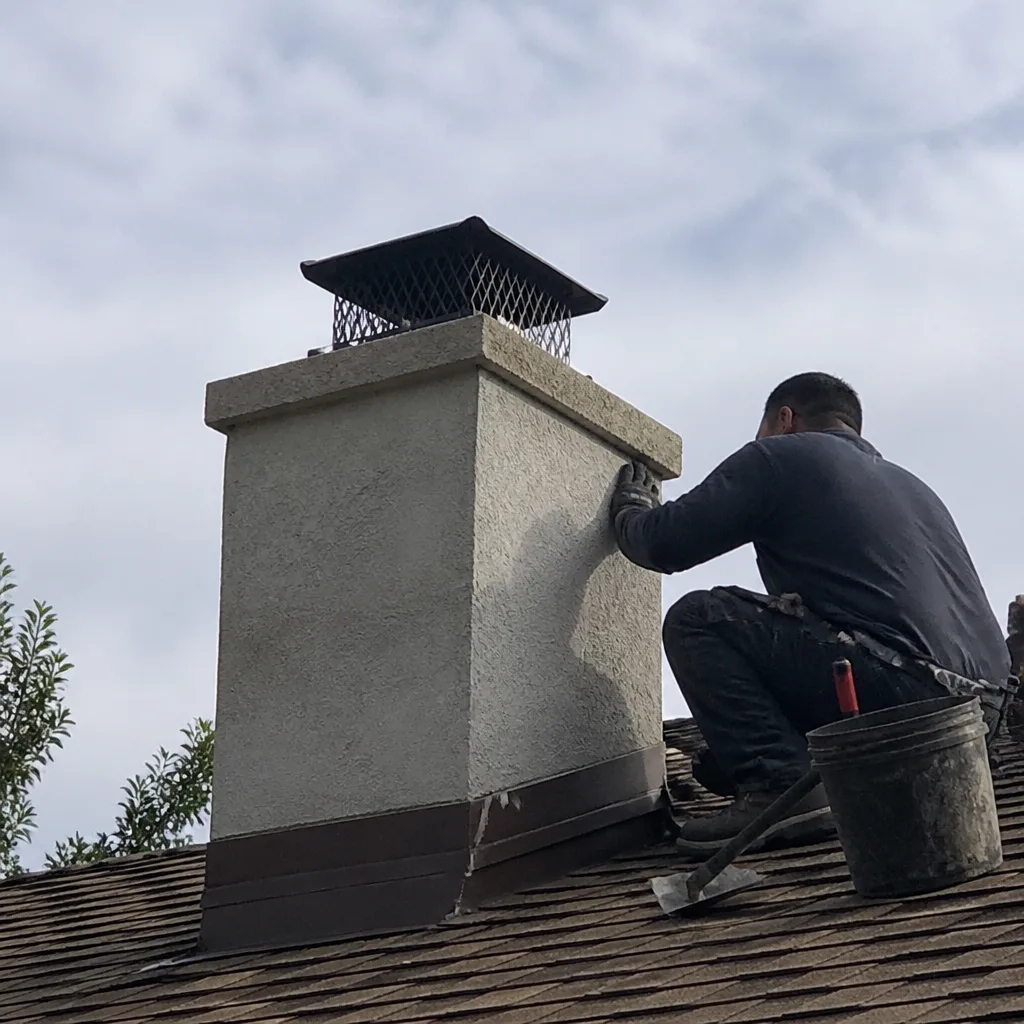 After
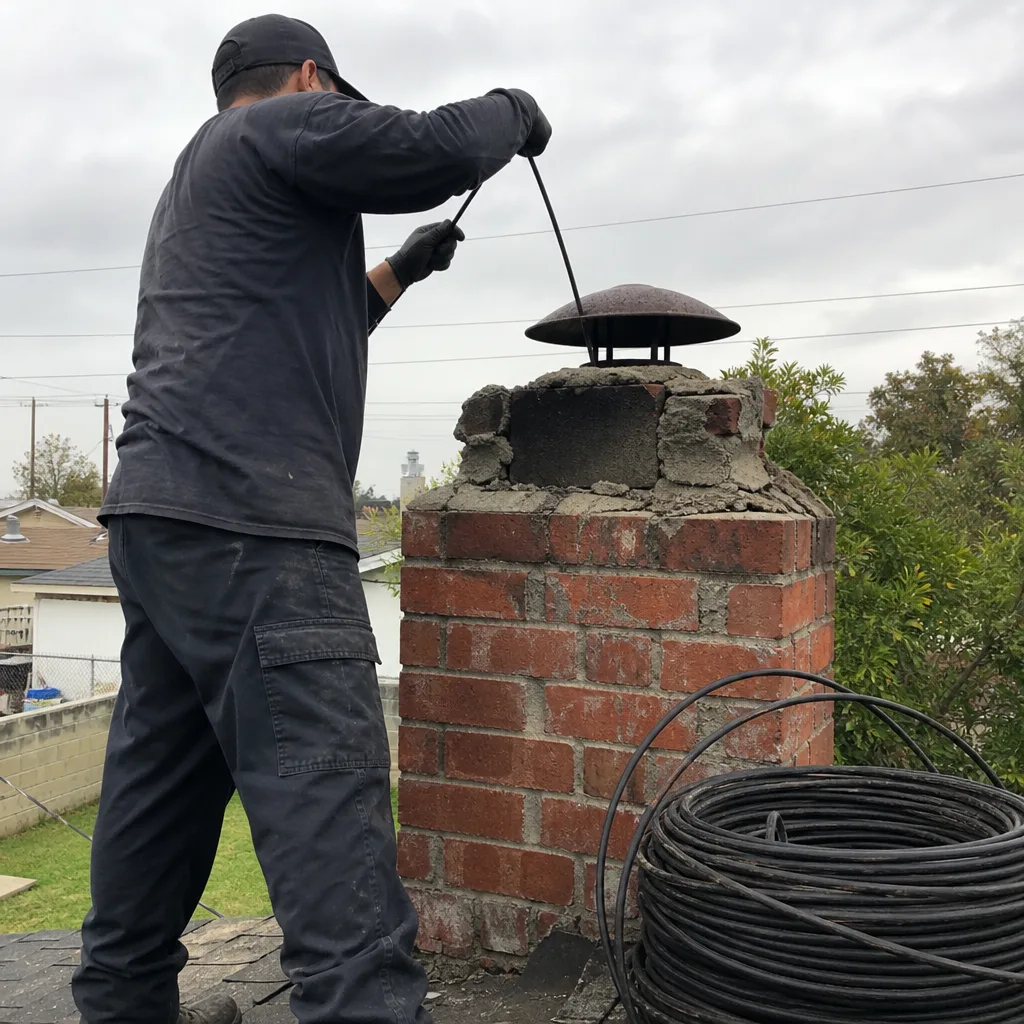 Before
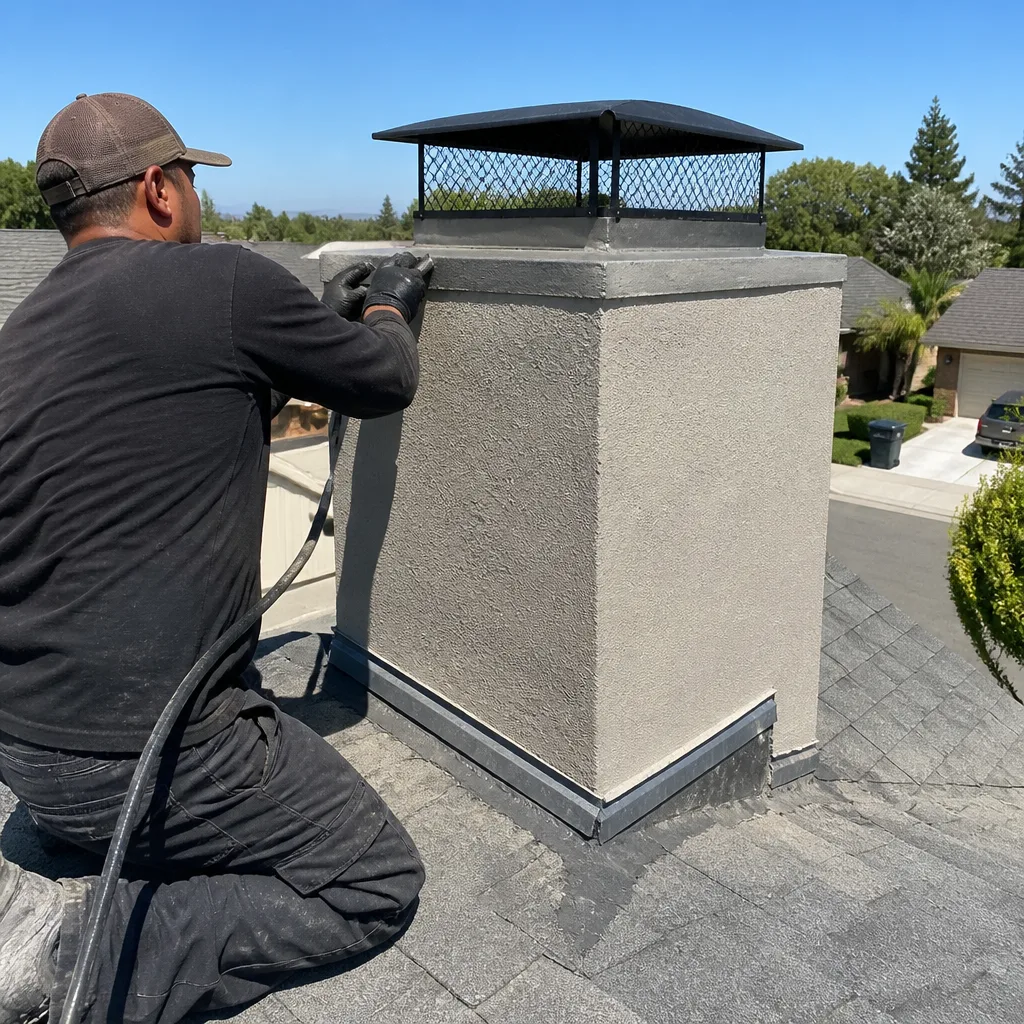 After
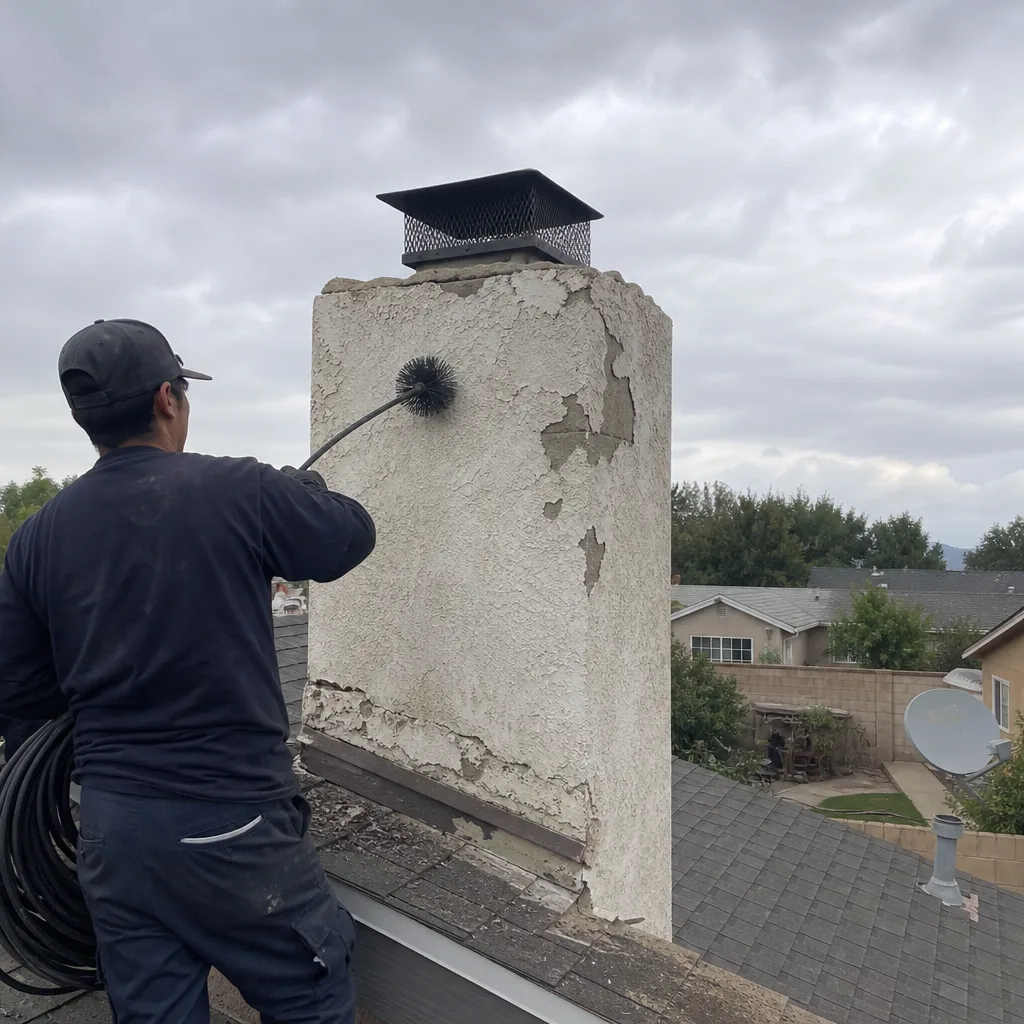 Before
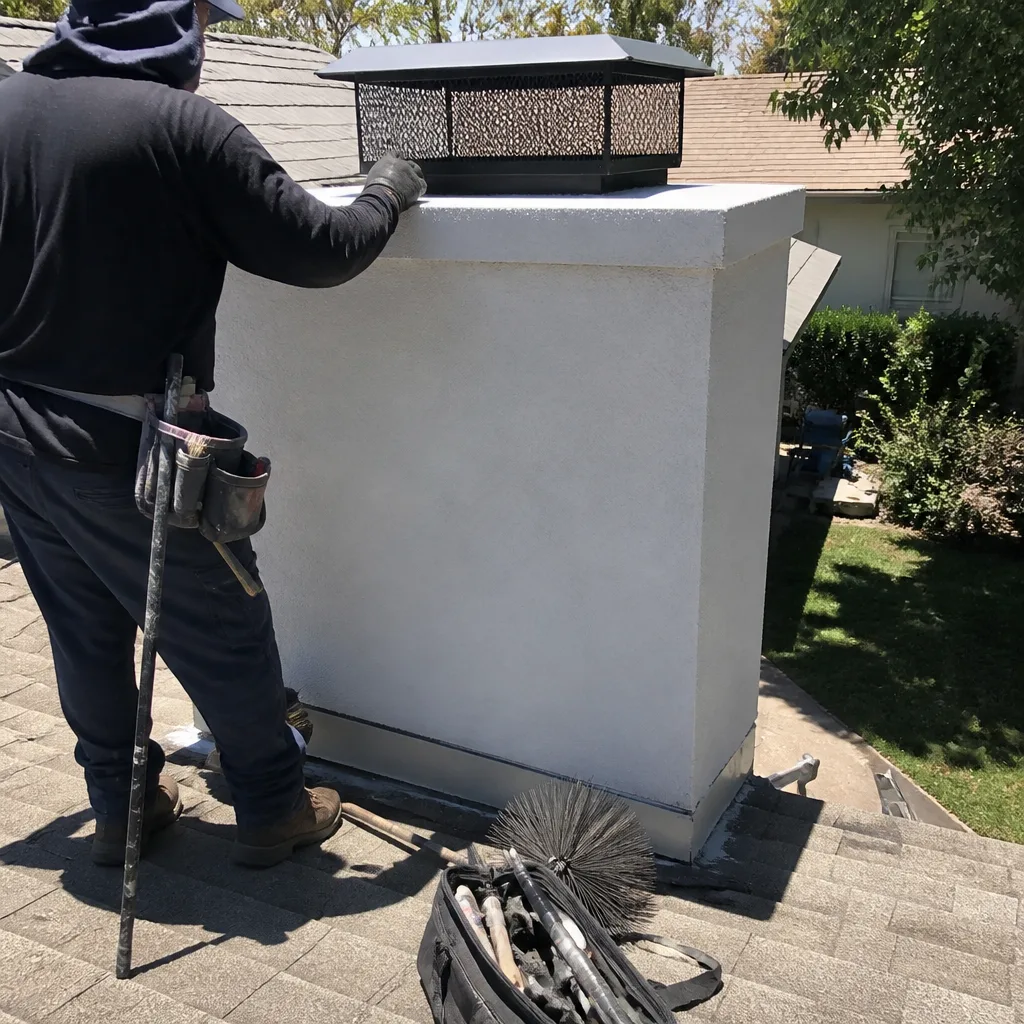 After
When to Call a Professional
Some chimney issues are addressable with vigilance and a good ground-level inspection. Others require professional equipment and training. Call a chimney specialist if you see spalling brick or crumbling mortar on the exterior masonry, efflorescence that appears or spreads after rain, a damper that no longer opens or closes fully, or any water staining inside the firebox. Call after any chimney fire, even a small one, because the heat may have damaged the liner in ways that aren’t visible from the ground. Call if you’ve just bought an El Monte home and have no maintenance history for the chimney. And call if you rent your property and can’t verify when the last inspection happened. A professional service visit includes the inspection, the sweep, and the documentation you need. Sherwood Chimney Sweep offers free estimates in El Monte, call (833) 589-8498.
Frequently Asked Questions
A standard chimney sweep in El Monte typically runs between $180 and $300 depending on the chimney’s height, condition, and whether a camera inspection is included. Add $75 to $150 for a same-visit dryer vent cleaning if you bundle both services. Call (833) 589-8498 for a specific quote on your chimney, estimates are free.
It depends entirely on the failure profile. Hairline cracks and surface deterioration can often be restored with a ceramic resurfacing system like HeatShield, which seals the existing liner without a full tear-out. Shifted clay tiles, large gaps, or severe spalling usually require a full relining. The only way to make that call correctly is with camera inspection evidence. No camera evidence, no liner decision.
Every year if you burn wood more than 30 times per season. Every other year if you burn less, as long as you’re doing visual crown and cap checks in between. Gas fireplaces need inspection every other year. Wood stoves and inserts need annual service regardless of usage because they run hotter and stress the liner more.
Creosote builds up in the flue liner and becomes a fire hazard. Stage 3 creosote is glazed, tar-like, and ignites at around 2,000 degrees Fahrenheit. The chimney fire that results can crack the liner, spread to surrounding framing, and void your homeowner’s insurance if the insurer determines maintenance was neglected. Water intrusion from a failed crown works slower but does more expensive damage over time. Neither failure mode announces itself until it’s advanced.
Yes. Use binoculars from the ground or from an upper window. Look for cracks, spalling, a missing cap, or white staining on the brick below the crown. That’s not a substitute for a professional inspection, which checks slope, overhang, and sealant condition up close, but it’s a meaningful early warning system between professional visits.
El Monte uses California building codes, which follow the International Residential Code for chimney construction and maintenance. The key requirements for existing homes relate to hearth dimensions, clearances to combustibles, and damper operation. Older homes built before current codes often don’t meet modern clearance standards, which becomes relevant when you sell, remodel, or file an insurance claim. A professional inspection documents where your chimney stands relative to current code.
The Bottom Line
A chimney maintenance checklist only works if it follows the sequence in which chimneys actually fail: crown and cap first, then the liner, then the smoke chamber and damper, then the firebox, then the exterior masonry. El Monte’s dry-wet weather cycle makes water intrusion the primary long-term threat, and the crown is where that threat enters. Check what you can see from the ground every season, keep a specific maintenance log, and get a professional inspection at the interval your usage pattern calls for. The difference between a chimney that lasts decades and one that needs a rebuild is almost always the timing of the first repair, not the size of the final one.
Written by the team at Sherwood Chimney Sweep, serving El Monte since 2017.